
With Easter just around the corner, you can almost taste the hot cross buns and tempered chocolate!
Easter is the perfect occasion to give handmade treats from the heart. Sure, some birds may be shaking their tail feathers to show their love, but what better way to impress your loved ones than with delicious tempered chocolate?
Tempering Chocolate, it’s Easier Than You Think!
At Bennetto Natural Foods, we love to make baking with chocolate less intimidating. After all, this isn’t Master Chef! Working with chocolate should be fun and, of course, very tasty!
Let us break down the basics so that you can have a go at tempering chocolate this Easter.
What is tempered chocolate?
Whether you want to make glossy chocolate Easter eggs, chocolate-dipped strawberries, or delicate bonbons with a chocolate coating, tempering chocolate ensures a professional-looking finish and that distinctive snap when you bite into it.
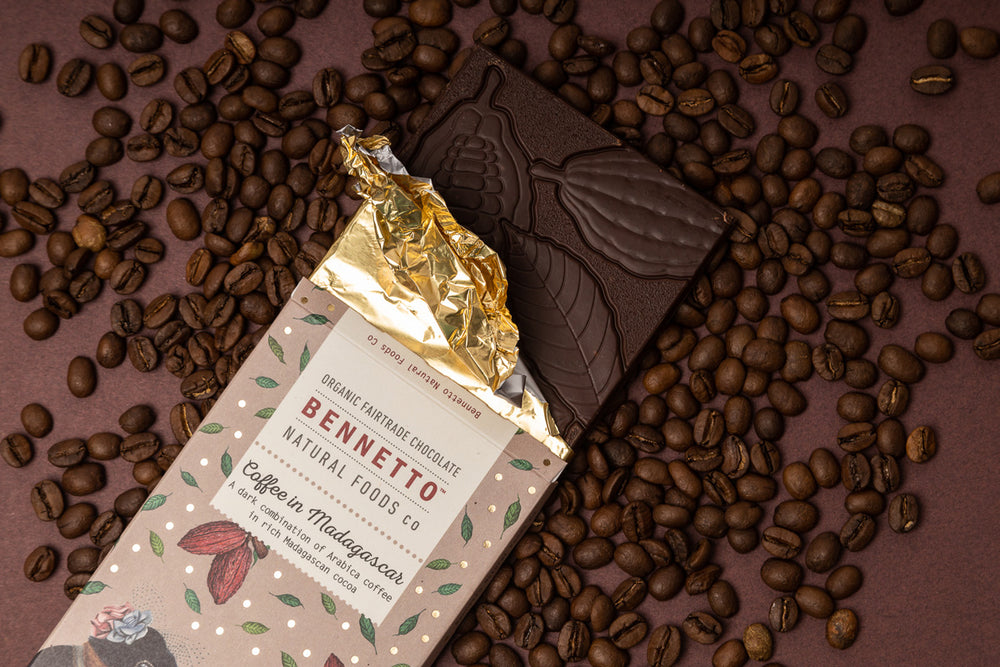
Tempering involves the process of slowly heating and then cooling chocolate so that the fat molecules crystallise evenly, resulting in a smooth, shiny finish when the chocolate sets. When tempered properly, it should produce a 'snap' when broken. Untempered, or incorrectly tempered chocolate will be dull, may have a slightly fudgy or chalky mouthfeel, it will not break cleanly, it will stick to any moulds you use and it will melt quickly on your fingers.
To put in context, if you’ve ever bought a bar of chocolate, you know the snap of a nice temper. If you’ve ever left that chocolate somewhere warm, or in the sun, then you also know how chocolate can feel crumbly and look mottled when not tempered correctly.
Why you should temper chocolate:
If you’ve worked with chocolate at home before, you might have used coconut oil to give your chocolate creations a beautiful mouthfeel without tempering. But if you want to make chocolate like a professional chocolatier and you don’t want to use any additives, or compromise the flavour of your chocolate, then you need to try tempering at home!
Tempering your chocolate will give your Easter chocolates the je ne sais quoi that feels and tastes like the store-bought chocolate you love, but even better (because you made it). Tempered chocolate also looks beautiful and will elevate anything you’re planning to make.
Plus, properly tempered chocolate won’t melt at room temperature as quickly as untempered chocolate which means that it has a better shelf life - although chocolate going off is never a problem in our pantry, it’s too delicious not to eat straight away!
Tempering chocolate can seem intimidating, but it’s easier than you think!
How to temper chocolate:
You may have heard chefs talking about using a bain-marie, marble slaps, or the “seed method”, and fussing with fancy thermometers to achieve the perfect temper. Don’t worry, you don’t need any fancy equipment or training to make gorgeous tempered chocolate that looks incredible and tastes great too!
A wee disclaimer: This might not be exactly how we do it for the manufacturing of the Bennetto range, but it will give you very similar results at home, without any of the fuss.
It’s as easy as 1, 2, 3!
1. Melt your chocolate over a double boiler (a stainless steel or glass bowl or pot over a larger pot of simmering water) or in the microwave in 30 second bursts, being sure to check the chocolate and mix after each interval.
2. Once your chocolate is all smooth and runny, allow it to cool to “blood temperature”. If you touch the inside of your wrist to the bowl, the chocolate should feel neither warm nor cool to the touch. If it cools too much, it will solidify quickly, and you’ll need to melt it again, but don’t be disheartened, all is not lost!
3. Pour your chocolate into molds, or drizzle over your baking, and then chill straight away for 30 minutes to set (once your chocolate is set, you can take it out of the fridge and enjoy - no need to keep it stored at low temperatures otherwise condensation may form on your chocolate).
Not so scary, is it?
A quick note on blooming
If you’ve ever left chocolate in the sun, or in front of the fire, or anywhere where your chocolate has melted, you will have experienced a chocolate bloom.
Blooming is when the fat in the chocolate (cocoa butter) melts and separates from the cocoa solids. As the cocoa butter re-solidifies, it works its way to the surface to the chocolate, leaving white or grey blotches.
Bloomed chocolate is perfectly safe to eat but it doesn’t taste or feel as nice.
Thankfully, blooming is reversible!
Now that you know how to temper chocolate, you can take any chocolate that has bloomed and follow the 1, 2, 3 method to temper it again.
Other helpful tips:
If you’re still feeling unsure, we have some helpful tips to make sure your tempering is a success!
Firstly, use high-quality chocolate. You’ll find that the process is much easier when you’re working with a chocolate that has high cocoa content, and doesn’t have any filler ingredients. All Bennetto chocolate is organic, and free from fillers, emulsifiers and preservatives, so it’s perfect for tempering at home!
You can shop Bennetto chocolate online or at your local stockist.
Work quickly! Tempered chocolate starts setting fast, so have everything ready before you begin.
Avoid water at all costs. Even a drop of water can cause your chocolate to seize (split).
Store correctly. Keep your chocolates in a cool, dry place (not the fridge) to maintain their shine and texture.
If you’re using compound or couverture chocolate, you don’t need to temper it. The added fats in the chocolate mean that you can remelt it and it will set with similar qualities as tempered chocolate, the trade off is that it is filled with additives and the ingredients may not be high quality.
There’s no better way to celebrate Easter than with handmade chocolate, and now that you know how to temper chocolate, you won’t have to wing it this Easter; you’ll be able to make show-stopping chocolate creations that every-bunny will love - happy Easter and happy chocolate tempering!
P.S. use #bakingwithbennetto on socials and tag us so we can see your chocolate!

